
Corporate Weebly Theme Instructions
Contents
1. Introduction2. Getting Started
3. Icons
4. Custom HTML Widgets
5. Fullwidth Sections
Thank you for purchasing the Corporate Weebly Theme designed by WebfireThemes.com.
This theme has been designed using Webfire Theme's new Design platform and includes great features to help you build a professional website easily,
quickly and with great results.
This theme comes with the option to purchase Content Ready page layouts. These are pre-designed page layouts for the homepage and about us page (the
two most visited pages on any website) with a mixture of drag and drop areas and hard-coded content areas which can be edited simply by clicking and
entering the content you want. If you have not taken this option, you can add the content ready pages as a bolt on to this theme via our website.
In the theme, we have also included all instructions as helper boxes which are visible via the weebly editor. These will not be published with the
site and will only ever be visible via the weebly control panel.
Now you're ready to get started. We strongly advise you read through the instructions page before getting started...
Before you make a start, you'll notice the homepage is set to be this instructions file. We recommend the first step you take is to create a new page
for "instructions" and associate it to the index.html page layout. This way you will be able to refer back to this instruction file whenever you need
to without keeping it as the homepage. Alternatively you can copy and paste the contents of this page into a word document and refer back to that.
To setup the page like we recommend do this:
1. Click on pages > ADD > Standard Page
2. Name the page Instructions
3. Ensure the Index.html page layout is selected.
4. Change the Home page to the page layout you want to use.
5. Click Save and Edit.
Now you can set your homepage to use your preffered page layout.
this theme makes the most of two sets of icons. Icons can be used in text or in many of the widgets.
There is no way to integrate these icons directly with the weebly dashboard so you do need to change these manually in the code. The instructions in
this file clearly show you where to change the code.
Font Awesome Icons
You can find the list of icons and their codes in the Font Awesome Icon set at this link
http://fortawesome.github.io/Font-Awesome/icons/
Wherever there is a widget being used that includes an icon, you will see a line of code that looks like this:
<i class="fa fa-twitter"></i>
To change the icon just replace the code for that icon. EG: <i class="fa fa-facebook"></i>
Custom Icon Set
We have also included a set of custom icons that can be used. To view these Icons, please go to this link:
http://wft-corporate.weebly.com/icons.html
The text that is BOLD in the code below is where you insert your own text after copying and pasting.
Anywhere you see this *LINK* should be replaced with a link. EG:
<a href="*link*"> would be replaced
with <a href="http://www.google.com">
To see the widgets in action, take a look at our demo page http://wft-corporate.weebly.com
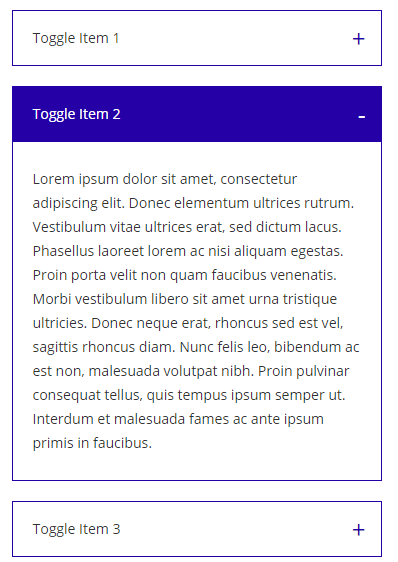
<div class="accordion">
|  |
<div class="toggle">
|  |
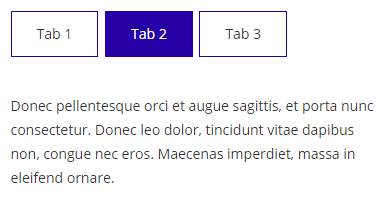
<div class="tabs-container">
|  |
<div class="icon-box-1">
|
<div class="icon-box-2">
|
TITLELorem ipsum dolor sit amet, consectetur adipiscing elit.
|
<div class="icon-box-2">
|
12 Great thingsLorem ipsum dolor sit amet, consectetur adipiscing elit.
|
<div class="icon-box-4">
|
Lorem ipsum dolor sit amet, consectetur adipiscing elit.
|
<div class="icon-box-3">
|
This is a Tick boxLorem ipsum dolor sit amet, consectetur adipiscing elit.
|
<div class="icon-box-5">
|
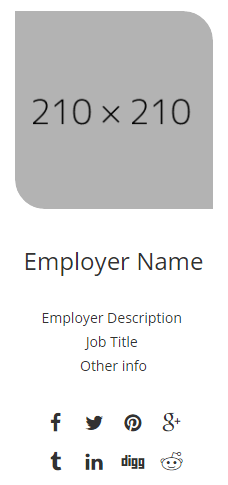
<div class="team-member">
|  |
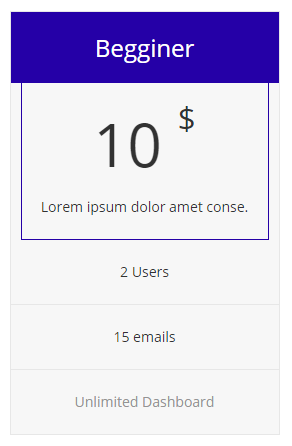
<div class="pricing-table-container">
|  |
|  |
<div class="pie-chart" data-barcolor="#6dcff6"
|  |
<div class="fixed">
|  |
<ul class="horizontal-process-builder five-items fixed">
|
|
|


<ul class="horizontal-process-builder four-items fixed">
|
|
|
<ul class="horizontal-process-builder three-items fixed">
|
|
Small
<a class="wft-btn" href="#">BUTTON TEXT</a><br>
BUTTON TEXT
Large
<a class="wft-btn wft-btn-large" href="#">BUTTON TEXT</a><br>
BUTTON TEXT
Small with Icon
<a class="wft-btn" href="#">BUTTON TEXT <i class="ifc-right"></i></a><br>
BUTTON TEXT
Large with Icon
<a class="wft-btn wft-btn-large" href="#">BUTTON TEXT<i class="ifc-right"></i></a>
BUTTON TEXT
Small
<a class="wft-btn wft-btn-black" href="#">BUTTON TEXT</a><br>
BUTTON TEXT
Large
<a class="wft-btn wft-btn-large wft-btn-black" href="#">BUTTON TEXT</a><br>
BUTTON TEXT
Small with Icon
<a class="wft-btn wft-btn-black" href="#">BUTTON TEXT<i class="ifc-right"></i></a><br>
BUTTON TEXT
Large with Icon
<a class="wft-btn wft-btn-large wft-btn-black" href="#">BUTTON TEXT<i class="ifc-right"></i></a>
BUTTON TEXT
<ul class="fill-circle">

<li>ENTER TEXT</li>

<li>ENTER TEXT</li>

<li>ENTER TEXT</li>

<li>ENTER TEXT</li>

<li>ENTER TEXT</li>

<li>ENTER TEXT</li>

</ul>
List with Hollow Circle
<ul class="right-circle">

<li>ENTER TEXT</li>

<li>ENTER TEXT</li>

<li>ENTER TEXT</li>

<li>ENTER TEXT</li>

<li>ENTER TEXT</li>

<li>ENTER TEXT</li>

</ul>
<div class="testimonial-slider">
|  |
Each Fullwidth Section througout the theme has a background ID. There are 10 Background ID's available which all have their own specific styling.
To change the background styling on any fullwidth section you will need to find the section in the html page layout and change the BG Identifyer.
The Code in the HTML page layout will look like this: <div class="fullwidth-section" id="bg-1">
You just need to change BG-1 to the appropriate BG Identifyer (EG: BG-3)
You can see how all of the fullscreen sections are styled here:
http://wft-corporate.weebly.com/section-styles.html
